My Stampin' Up! Classes

Showing posts with label Holiday Mini 2009. Show all posts

Wednesday, December 30, 2009

Cold & Cuddly...

Attention stampers - there are only a few days left to get this Cold & Cuddly stamp set out of the Holiday Mini Catalog. Let me know now if you'd like to own one by emailing me at ericandterry@comcast.net.

This is a 6" square of Crushed Curry card stock, with a strip of Night of Navy patterned paper from the Level 1 hostess paper pack.

I used markers to ink up the penguin on the rubber, and punched it with the 1-3/8" Circle Punch after stamping it on Whisper White card stock. It was then layered on a Real Red Scallop Circle Punch, which is adhered with dimensionals on top of the card and 1/4" Real Red grosgrain.

Monday, December 28, 2009

Best Wishes & More thank you...

At a recent stamp-a-stack, I tried doing cards that could be used for Christmas or for other purposes, such as thank-you, birthday, thinking of you, etc.

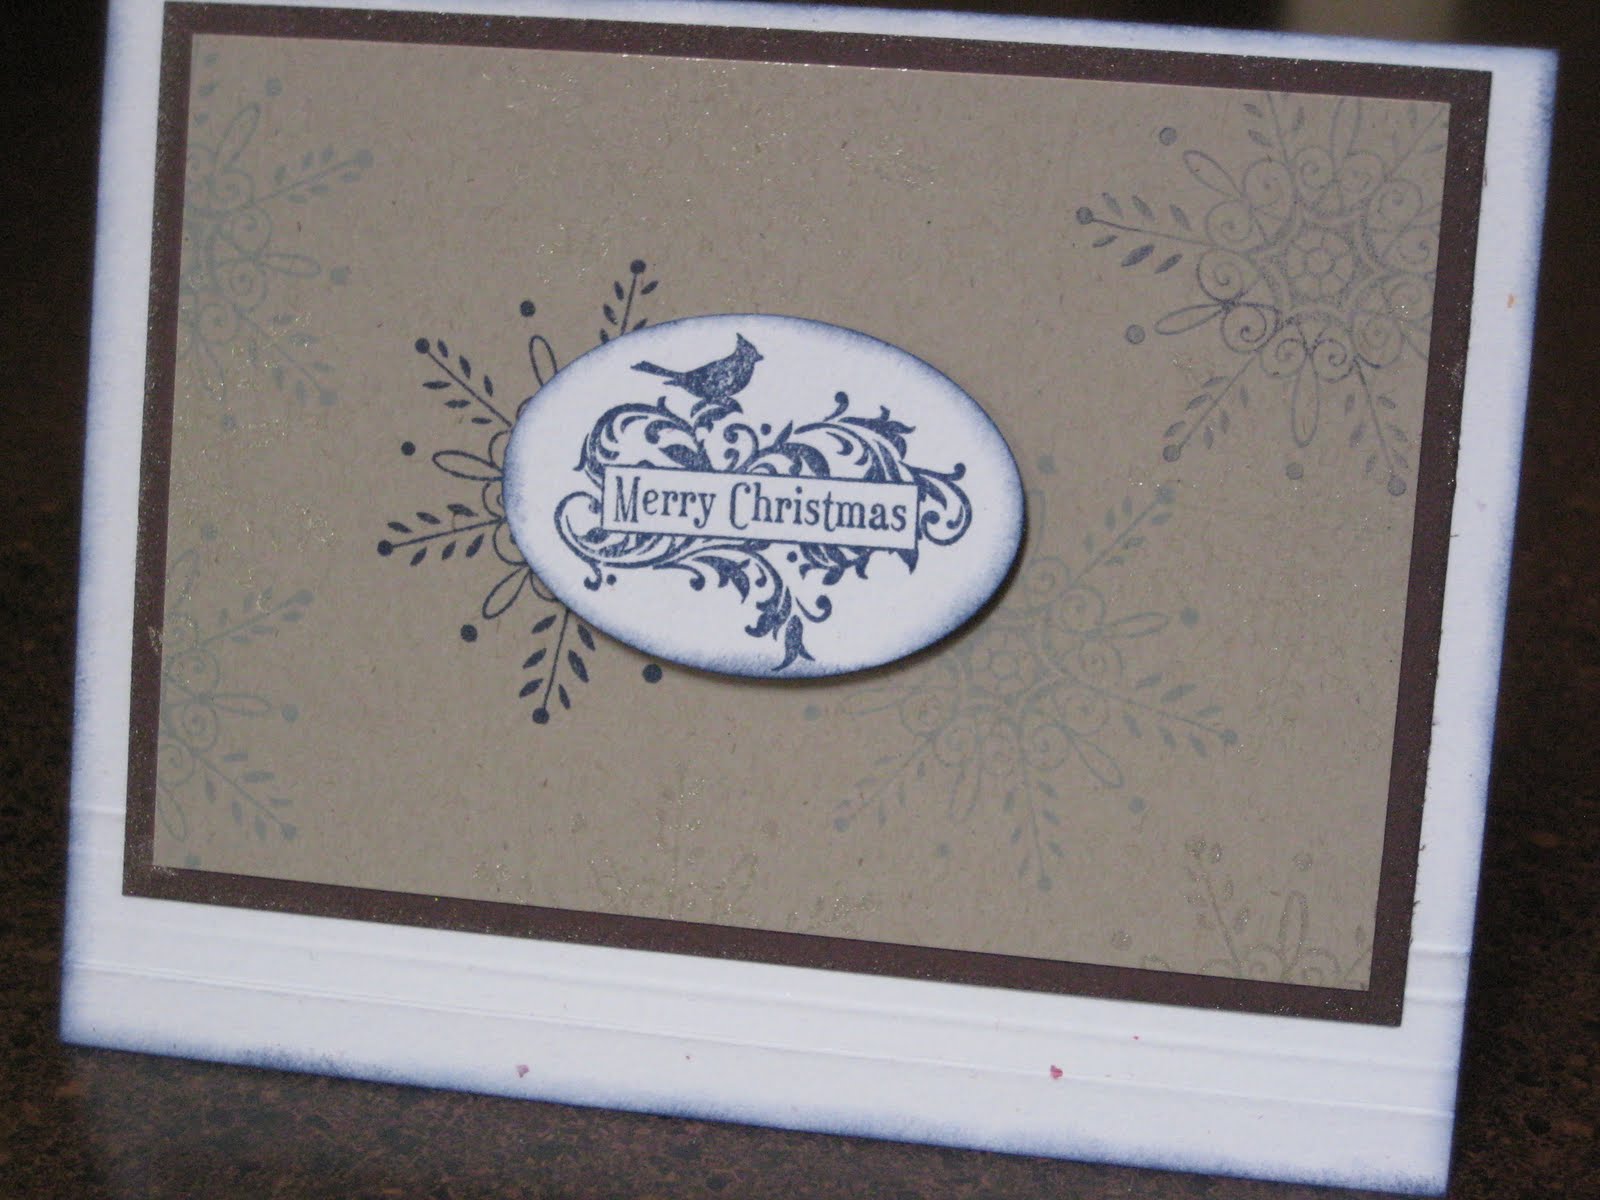
This is a Whisper White card stamped with Soft Suede snowflakes from the Best Wishes & More stamp set. The sentiment is from that set too. The ornament is from the Delightful Decorations stamp set in the Holiday Mini, which is only available to order for a few more days (you can order online here or email me with your order).

I used a strip of Christmas Cocoa paper, layered on Soft Suede with a knot of Soft Suede polka-dot ribbon around it.

I'll actually be starting 2010 with birthday cards for my family and friends born in the winter! It's a first....

Sunday, December 27, 2009

Simple Seasonal Thanks...

Though I used the single snowman stamp in the Holiday Mini (called Simple Seasonal Thanks) for this Christmas card, it does come with words inside for a cute and simple thank-you card - perfect for after the holidays!

The sentiment on this card is from the Christmas Punch hostess set (Level 2). I used Brocade Blue and Real Red markers to ink up the rubber, then the Curly Label Punch. It's adhered to the Brocade Blue card with dimensionals.

Monday, December 21, 2009

Michelle's snow glass block...

Michelle W. created this decorative glass block using the decor elements from the Holiday Mini, and our wide striped Old Olive ribbon.

She also stamped snowflakes in White StazOn ink for a pretty effect.

Saturday, December 19, 2009

Simple Seasonal Thanks votive holder...

Still counting down the days 'til Christmas with us? Good!

I always have people who pop by the house, unexpected, with some treat or small gift for myself or our family. I don't like to be caught unaware, so I like to have small gifts on hand with which I can reciprocate.

I stamped the Simple Seasonal Thanks stamp (just one big snowman with words inside of him) in Basic Black ink on Whisper White card stock, then used Real Red, Only Orange and Bashful Blue markers to color it. I used a 2-way glue pen to add Dazzling Diamonds glitter all over the image.

The Close to Cocoa box is the Bitty Box die for the Big Shot, with a 1-3/4" Circle Punch just through the top. No adhesive is needed for the box, which is very cool. The votive just sits in it.

I CASE'd this idea from Connie Babbert.


Thursday, December 17, 2009

Vintage Ornaments stenciled tile...

My daughter and I did an experiment on 6" x 6" tumbled marble tiles with the Vintage Ornament stencils and craft ink refills.

First, we sponged on the Brilliant Blue and Lovely Lilac ornaments using the stencils and craft ink squirted onto a paper plate.

Then, without heating or anything, we laid the flourish stencils over the centers and sponged on silver ink from a refill bottle.

These tiles were baked in the oven at 325 degrees, but the ink bubbled, so I'd suggest a lower temperature for about 10 minutes.

After that, we added a knot of double-stitched Bashful Blue ribbon and a tag with a saying from the Grateful Greetings stamp set (Holiday Mini), tied on with silver cord. The tile sits on a clear plastic easel for a nice display.

Night & Day Keepsake Box...

One day closer to Christmas and one more gift idea - a Keepsake Box.

Kim made this using a dollar craft box and Night & Day paper (Holiday Mini 2009). It's very elegant looking with the 5/8" Black grosgrain foofed into a pretty bow. And look at the white gift bag she decorated to accompany it!

You could keep all kinds of memorabilia in here, including photos, jewelry, scarves and many other items in here.

Kim even used clear rhinestones to make the cover hinge in back. I'm sorry I didn't get a photo of that.

This was another handcrafted gift item exchanged at our American Ink party. These gifts mostly take some time and effort. They're not expensive.

Thursday, December 10, 2009

Pearl's Grateful Greetings card...

Pearl brought this cute tree card as a make & take to our demonstrator gathering.

We used the Grateful Greetings stamp set in the Holiday Mini, as well as Snow Buddies (Level 2 hostess in the same mini). You can only buy/earn these stamps till Jan. 4, so let me know if you're interested!

We cut a triangle for the tree, then used the Scallop Edge Punch for the bottom. We stamped a snowflake all over it and folded at 1/2", 1/4", 1/2", 1/4", etc. Mini glue dots hold down the folds.

Of course the tree had to be topped off with a punched Summer Sun star from the small star punch, and we added a brad for bling.

Have a wonderful day!

Wednesday, December 2, 2009

Delightful Decorations and Christmas Jingle...

What's fun about this Old Olive card is that it uses a few inches of self-adhesive diecuts from the Christmas Jingle Simply Scrappin' Kit.

Kim stamped a couple of the ornaments from Delightful Decorations (Holiday Mini) directly on the card front, then added gold cord and 1/4" Real Red grosgrain for a 3d look.

The third ornament has been cut out and popped up with dimensionals, with a knot of ribbon added to the top of that.

The sentiment is from Teeny Tiny Wishes, a stamp set that has words for every occasion.

Monday, November 30, 2009

Embossed Petals-a-Plenty Christmas Wishes...

Kim's beautiful card uses the Petals-a-Plenty textured embossing folder for the Big Shot, along with the Christmas Wishes stamp set.

Kim cut an oval through the folder. She put the 4" x 10-1/2" Whisper White card stock inside and the entire card was embossed with the flowers.

Then she inked up the dove stamp with Elegant Eggplant, Old Olive and Brocade Blue markers and stamped it in the middle of the oval.

After adding the Mistletoe Ribbon Originals, Kim layered the white card on a 4-1/4" x 5-1/2" piece of Elegant Eggplant.


Sunday, November 29, 2009

Holly's Snow Buddies snowglobe card...

By far, the most popular swap at our latest demonstrator gathering was this snowglobe card by Holly. It's absolutely stunning.

Holly got the idea off the back of the Holiday Mini Catalog, but all of the hard work is hers. The globe is Bashful Blue, with snowflakes and swirls from Snow Buddies (Level 2 hostess set in Holiday Mini) stamped and then glittered.

The base is Soft Suede, with a knot of Soft Suede polka-dotted ribbon. The sentiment is from the stamp set Best Wishes & More.

To check out more of Holly's great work, visit here.

Wednesday, November 25, 2009

Night & Day Herringbone Technique card...

This Night & Day Specialty paper is so fun to play with. Here, I used strips on a shipping label in what is called the Herringbone Technique for my Technique Lover's Class this month.

To do the Herringbone Technique: Lay a strip at an angle across the entire sticky surface. Then lay strips on either side of that one at a 90-degree angle, which make triangles. Keep laying additional strips at 90-degree angles to the last, filling up every space. Trim off the strips and layer and create your card. It's that easy!

The FYI stamped sentiment is stamped in Basic Black ink and punched using the Word Window Punch, then layered on a Modern Label punched piece of Basic Black card stock.

I used a knot of 1/4" Basic Black grosgrain in keeping with the black and white look, then stamped and cut out the butterfly from Great Friend, adhering it with Stampin' Dimensionals.

Tuesday, November 24, 2009

Pearl's Delightful Decorations card...

Pearl swapped this Delightful Decorations card at our demonstrator gathering.

It's a Sahara Sand card with snowflakes in the same color ink, a strip of Holiday Lounge designer paper down the middle, and three punched ornaments from the Delightful Decorations stamp set in the Holiday Mini Catalog. She added Chocolate Chip strips of card stock from which the ornaments hang.

Only one month 'til Christmas is here!

Sunday, November 22, 2009

Cheryl's Petals-a-Plenty Christmas card...

Cheryl contributed this swap to our latest demonstrator gathering. She's one of our newest American Ink group members and I love the fresh ideas she brings with her!

This swap reminded me of a few things - adding glitter to our fabulous designer paper really makes a difference, edge punches can be used at an angle, and a little bit of texture is nice - it doesn't have to be the whole card.

Cheryl used several different designs from the Merry Moments designer series paper pack. The only stamping is the "thank you" that was punched out and layered.

The Petals-a-Plenty textured embossing folder for the Big Shot was used on the white corner of the card, as well as the oval scallop punched behind the greeting, and the strip at the top corner.

Even with those things going on, what really stands out when you hold the card is the glitter on the ornaments. You feel it, see it and it's amazing! So try something different on your own cards.

Saturday, November 21, 2009

Michelle's Serene Snowflakes & Holiday Best...

A photo can't do this card justice, because there's shimmer paint all over it, including some of the snowflakes that were stamped in it!

Michelle W. brought this as a make & take to our recent demonstrator gathering. We used the paper trimmer with scoring blade to score a few lines at the bottom of the Very Vanilla card.

The Serene Snowflakes were stamped in Chocolate Chip, Not Quite Navy and Champagne Mist Shimmer Paint, then layered on Chocolate Chip before being adhered to the card.

The sentiment is from the Level 1 hostess set, Holiday Best. We used the Wide Oval Punch to punch it out, then sponged around it in blue and added it to the card with dimensionals. It's also covered with shimmer paint for a dazzling sparkle.

Friday, November 20, 2009

Ornament punch Four the Holidays...

This Whisper White card uses a 4" x 5-1/4" piece of Christmas Cocoa paper, a Whisper White Top Note cut with the Big Shot, and two punched ornaments from the same paper pack.

I put adhesive on the back of one punched ornament after adding a bit of silver cord. Then with the second punched ornament, I folded it in half and attached it to the middle of the first with a few mini glue dots. The half pearl from the Pretties Kit was also adhered with a mini glue dot.

The "Merry Christmas" is from the Four the Holidays stamp set and it's stamped in Always Artichoke ink.

I CASE'd this idea from here.

Wednesday, November 18, 2009

Vintage Ornament stencil and Shimmer Paint...

With all of the great products in the catalog and mini catalog right now, it's easy to overlook something cool like Stampin' Up!'s Vintage Ornament stencils 1 and 2.

I started with a Very Vanilla card and some foliage from Le Jardin Botanique stamped in Handsome Hunter.
I used a sponge dauber in Night of Navy ink and stencil for the ornament, then used the flourish stencil (in the same packet) for the inside of the ornament in Champagne Mist Shimmer Paint.
The sentiment is from Four the Holidays (Holiday Mini). I rounded the corners on the right side, sponged around it with Night of Navy ink, and adhered it with dimensionals. A navy button was added with a mini glue dot.
The bottom photo shows the shimmer paint a little better.


Sunday, November 15, 2009

Sparkly & Bright shaker card...

I hosted my annual Christmas Spectacular today. The star of the event was the Sparkly & Bright stamp set. All five projects used stamps from that set.

Here's the first card. It's a shaker card using a Sweet Treat Cup and coarse white glitter.

The card is Bermuda Bay, with a knot of polka-dotted ribbon. I added a quarter sheet of snowflake vellum (available in the Holiday Mini Catalog), using two mini glue dots under two snowflakes and hidden by the ribbon.

I punched the 1-3/4" circle first in the window sheet, then stamped the sentiment in Basic Black on Soft Suede card stock, positioning that piece in the center of the window.

I used Crushed Curry, Bermuda Bay and Soft Suede markers to ink up the tree image, which was then adhered through the window to the Soft Suede layer.

To finish the card, I added coarse glitter to the cup, removed the adhesive around the rim and placed it on the Soft Suede layer. I love those Sweet Treat Cups!!!

Thursday, November 12, 2009

Holy Family & Spotlighting with a Punch Technique...

I used one of my favorite techniques with this Christmas card - Spotlighting with a Punch. It's quick, easy, and makes short work of coloring a detailed image since you're only focusing on a small part of it.

First, I stamped the Holy Family image from the Holiday Mini on Confetti Cream card stock in Basic Brown ink, then again on a scrap piece of paper. I used the 1-1/4" circle punch on the image, then the 1-3/8" circle punch on a scrap of Rich Razzleberry card stock that layers perfectly behind it.

The "spotlighted" image was then colored with watercolor crayons and an aqua painter.

I used the Ticket Corner Punch on the top corners only, adding Vintage Brads.

Before adhering the top layers onto the Rich Razzleberry card, I ran the card through the Big Shot with a texturz plate, then sanded it so the image would be more pronounced.

I finished the card with some elastic gold cord knotted at the top.

Wednesday, November 11, 2009

Serene Snowflakes & Merry Details...

I love a basic Whisper White card. Mix some Holiday Mini magic with it and it comes alive in a simple and elegant way.

There's Soft Suede ink, card stock and polka-dotted ribbon on this card, which uses a snowflake from Serene Snowflakes, a greeting from Grateful Greetings, and a bright Real Red bird from the sizzlet for the Big Shot, Merry Details.

This card was CASE'd from another blogger, though I don't think there was Crystal Effects and Dazzling Diamonds on the original as there is on this one.