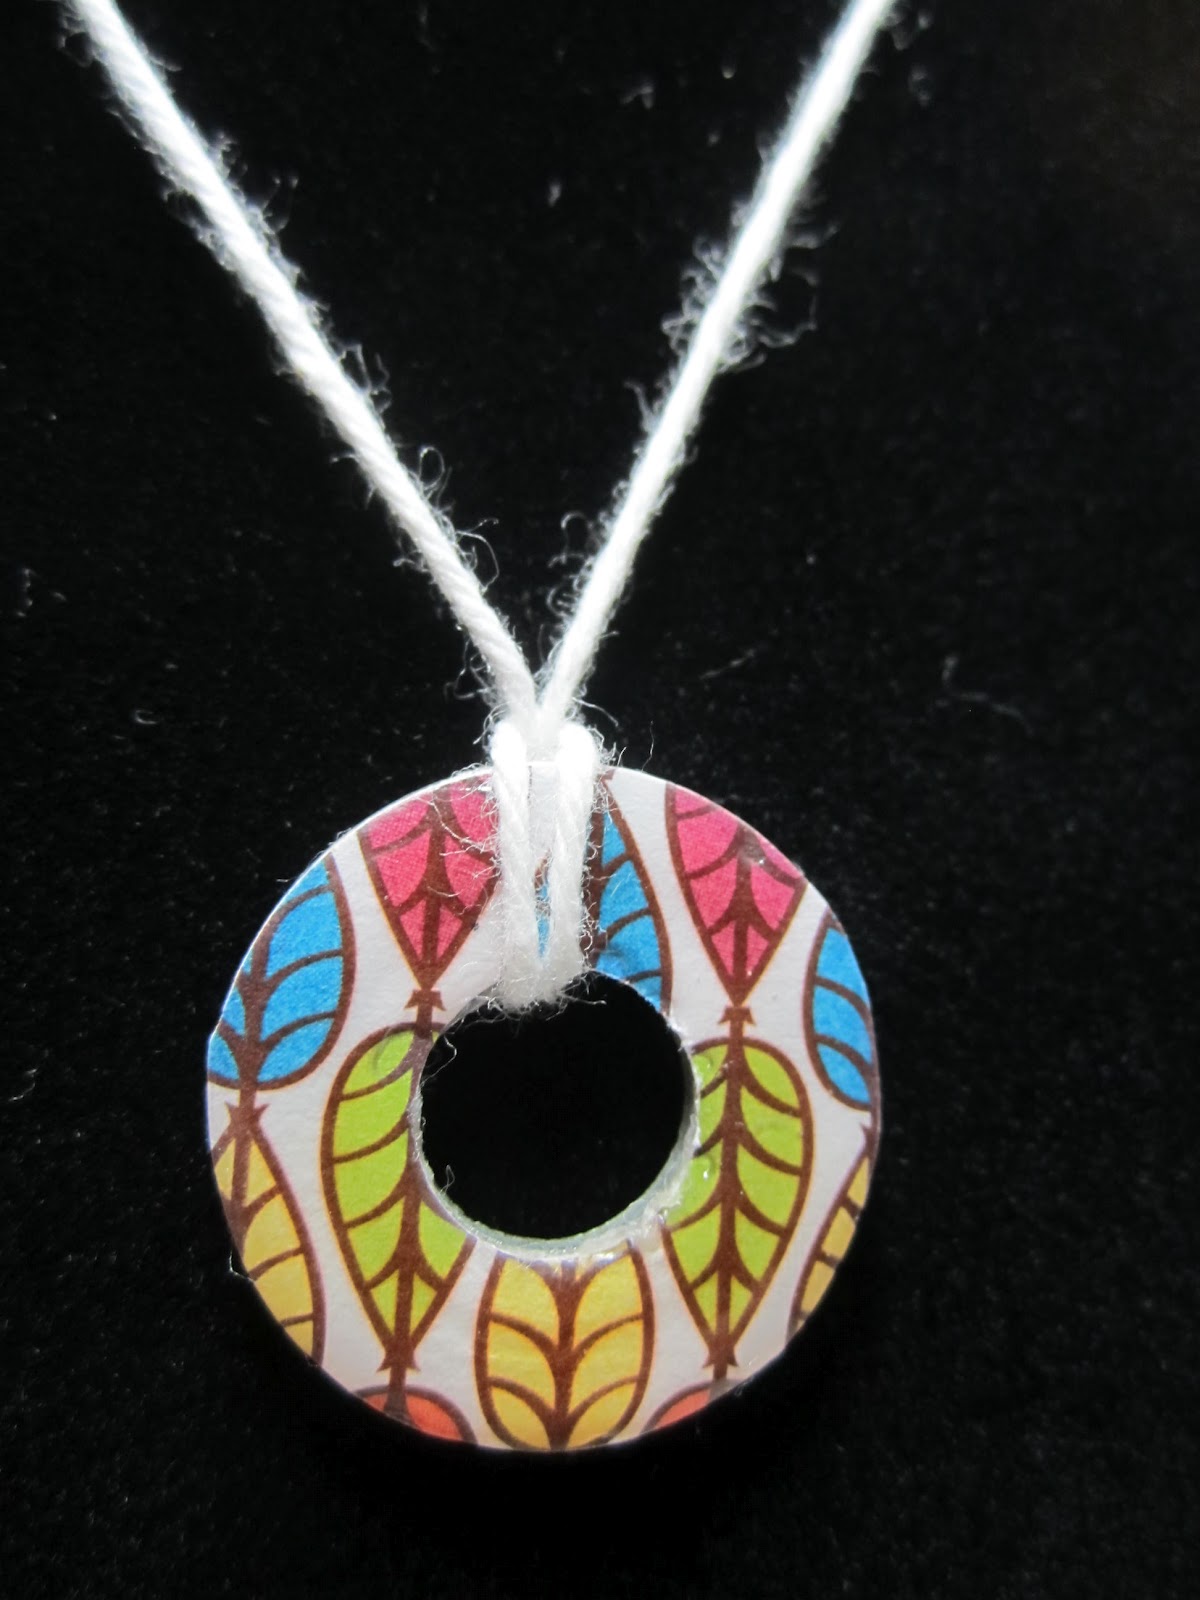
After seeing this idea on Pinterest, then in the latest issue of Stampin' Success, our demonstrator magazine, I felt the universe was telling me to make washer jewelry. So I raided my hubby's parts bin last night, selected a pack of my favorite designer paper - International Bazaar - and went to work.
 |
| I think they look like jewels here! Two of these have Howlstooth & Scaringbone dsp. |
First, there were several different sizes of washers, and a nut (there's one in every bunch!). I figured most of the middles were about the size of the circle in the Itty Bitty Punch Pack. The middle circle was punched first, then I used either a 3/4" or 1" circle to punch out the ring that would cover the washer.
I used Tombow Liquid Adhesive to adhere the designer paper to the washer. Once it dried, if the paper was too large, I simply turned over the washer and used scissors to trim off the excess. It's easy because the scissors runs smoothly along the metal edge.
After the paper was adhered, I used Crystal Effects over the entire surface. That's it! I let them all sit overnight, and then added white baker's twine to several today.
 |
| I love this color of blue. |
 |
| Hexagon nut |
For the hexagon shape, I used the 1" square punch, glued it down and then once it dried, turned it over and trimmed off the excess. It was very easy to follow the straight lines!

So I'd like your input. I'm thinking about making more of these for a holiday gift festival in October. How much do you think I should sell one for?

